
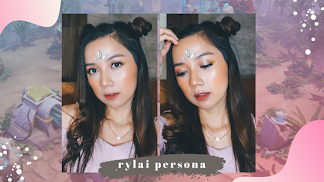
Makeup Video - Get the Look Kit from E.L.F.
One Thursday, I received a very good news. One email said that I won an online raffle. I thought it was just a spam because I really have no luck in winning such raffles or contests. Well maybe, just maybe... the sun has risen from West that morning...HAHA!
It was from E.L.F. Philippines!!! Little did I realize that I entered their online giveaway. I was one of the lucky 10 winners of this Get the Look Kit! It is a 5 piece brown eye set. This is perfect for girls who are always on-the-go or for makeup beginners.
More of this kit on my next post, so stay tuned! :D

So, let's get down to business. One boring Sunday night, I decided to film and feature this gift from E.L.F. Finally, my iPhone put itself to use. HAHA!
Sorry for the angle and low video quality. Promise, I tried my best! :D Disclaimer alert! I'm no makeup artist and expert, but hope you enjoy this tutorial.
This kit basically includes all eye makeup that you will need. I'm not sure though if they are selling this, but what I do know is that the individual products here is available in your favorite E.L.F. branch.
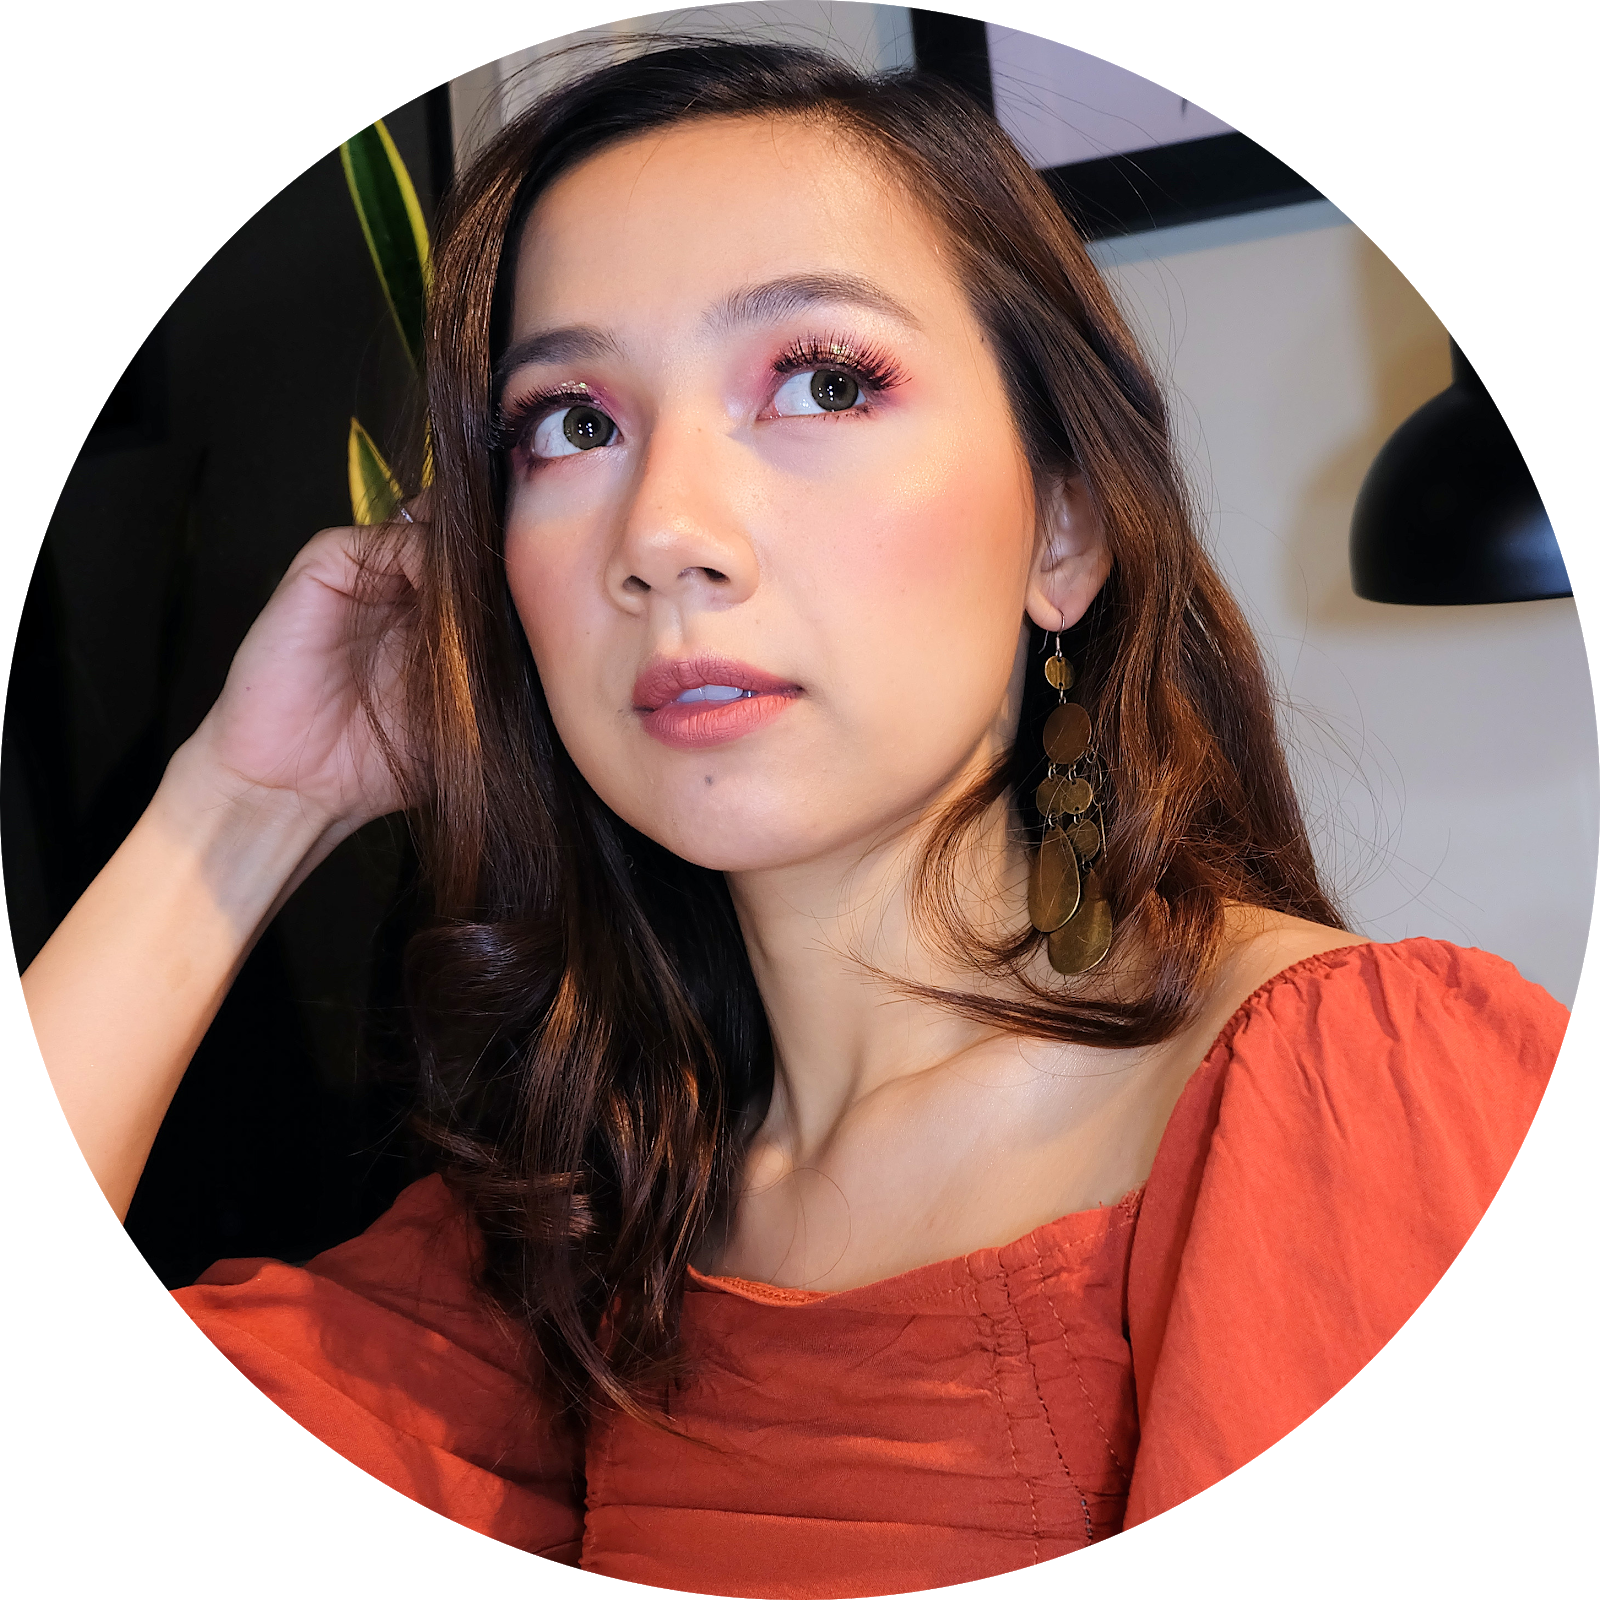
If you have an eye shadow with this color, you can try these easy steps. This makeup look is so simple. You can wear it for office, night out or for other events.
Enjoy!
I already cleansed my face by applying toner and moisturizer. I also applied concealer and thin foundation prior.
I'm not into foundation, so you'll notice that there's no enough coverage. Forgive me as well for my eye bags... :( I can't do anything about it. HAHA! :D
Read along... :)
1. Eyebrow - To keep it natural-looking, I opted for powder. I'm using a matte brown eye shadow (like everyday!). That's a good thing about makeup. You don't have to buy each and every single one of them. You can always look for an alternative.
Choose an eye shadow that's brown enough..not too dark! (but it's up to you) Light brown is okay as long as it's buildable.
2. Eye shadow - Using the eye shadow brush from the kit, apply the mid color all over your lids. Next, using a smaller brush, apply the darkest color on the corner of your eyes. This will instantly add definition. Don't worry about the harsh edges, we'll blend it later. Always start from the corner and bring the color in an inward motion.
We're going to ask help from our other E.L.F. friends here, so next, grab a blending brush and using the mid color again, blend the edges out. Just very lightly, sweep until you achieve a softer edge and smokey finish. Apply some on the middle of your lids as well to intensify the color.
Take the eye shadow brush once more and use the lightest color to highlight the eyes. Apply some on the inner corner and brow bone. You can also sweep some to soften the outer corners. Just make sure that you don't erase it. :)
Using a flat brush, apply the darkest color on the lower lash line. This will balance out the eye makeup. You don't want your eyes to appear too top heavy. Don't forget to blend as you sweep inwards and stop on about 3/4 of your eyes.
Now, using the lightest color, do the same for the inner corner.
3. Eyeliner - This is always the hardest part for your shaky hands, but trust me, all you need is pratice. :)
One useful tip is to rest your pinky finger as you go along. This will make the application more stable. Start from the middle and connect the lines slowly.
If your lash line touches your upper eye lid when you open your eyes, let the eye liner dry first by looking down.
4. Mascara - Use the curler and mascara from the kit. Here, I used falsies because my lashes are short and thin.
5. Powder - Apply your favorite powder. This will set the liquid makeup like foundation and concealer in.
6. Blush - I'm not a blush fan, but here, I applied a thin amount on the apple of my cheeks while blending it out. I suggest to use an old rose color or even bronzer for this eye shadow color.
7. Lipstick - It's not shown in the video, but I applied lip balm and lip liner first. My fave lip look is the matte finish and I do that by following the steps here.
Apply your lipstick as normal and dab on some powder. Finish it by applying lip liner.
8. Smile - Lastly, the most awkward part of the tutorial. The end clips for pa-cute shots...HAHA!
That's it! Hope this helps! Thank you E.L.F. for this amazing kit!
If you like to be their next winner... and I know you sure do... like their OFFICIAL FB Page here.
I'm really an E.L.F. fan not just because of their effective and good quality makeup products but most importantly, it's very affordable. Even students can buy without hurting their baon. :)
Please watch out for my next post because we'll take a closer look at each eye makeup included in the kit. I'll also share the "after" photos! Yay!
Other Products Used:
1. Etude Angled Brush
2. Loreal Matte Brown Eye Shadow
3. E.L.F. Blending Brush
4. Clinique Blush
5. Wet 'N Wild Lipstick (review here)
6. Maybelline Clear Smooth Pressed Powder in Honey (review here)
7. Estee Lauder Lip Liner (review here)
8. E.L.F. Stipple Brush (review here)
Music by: Guy Sebastian, All I Need
What do you think?
your sweetest drug,


0 comments
What do you think?